
Free Side Profile Analysis
Upload a side-profile photo to estimate facial angles and lip position. Check the 11 marked points, adjust them if needed, and download your results. Free to use, with no sign-up. Your photo stays in your browser.
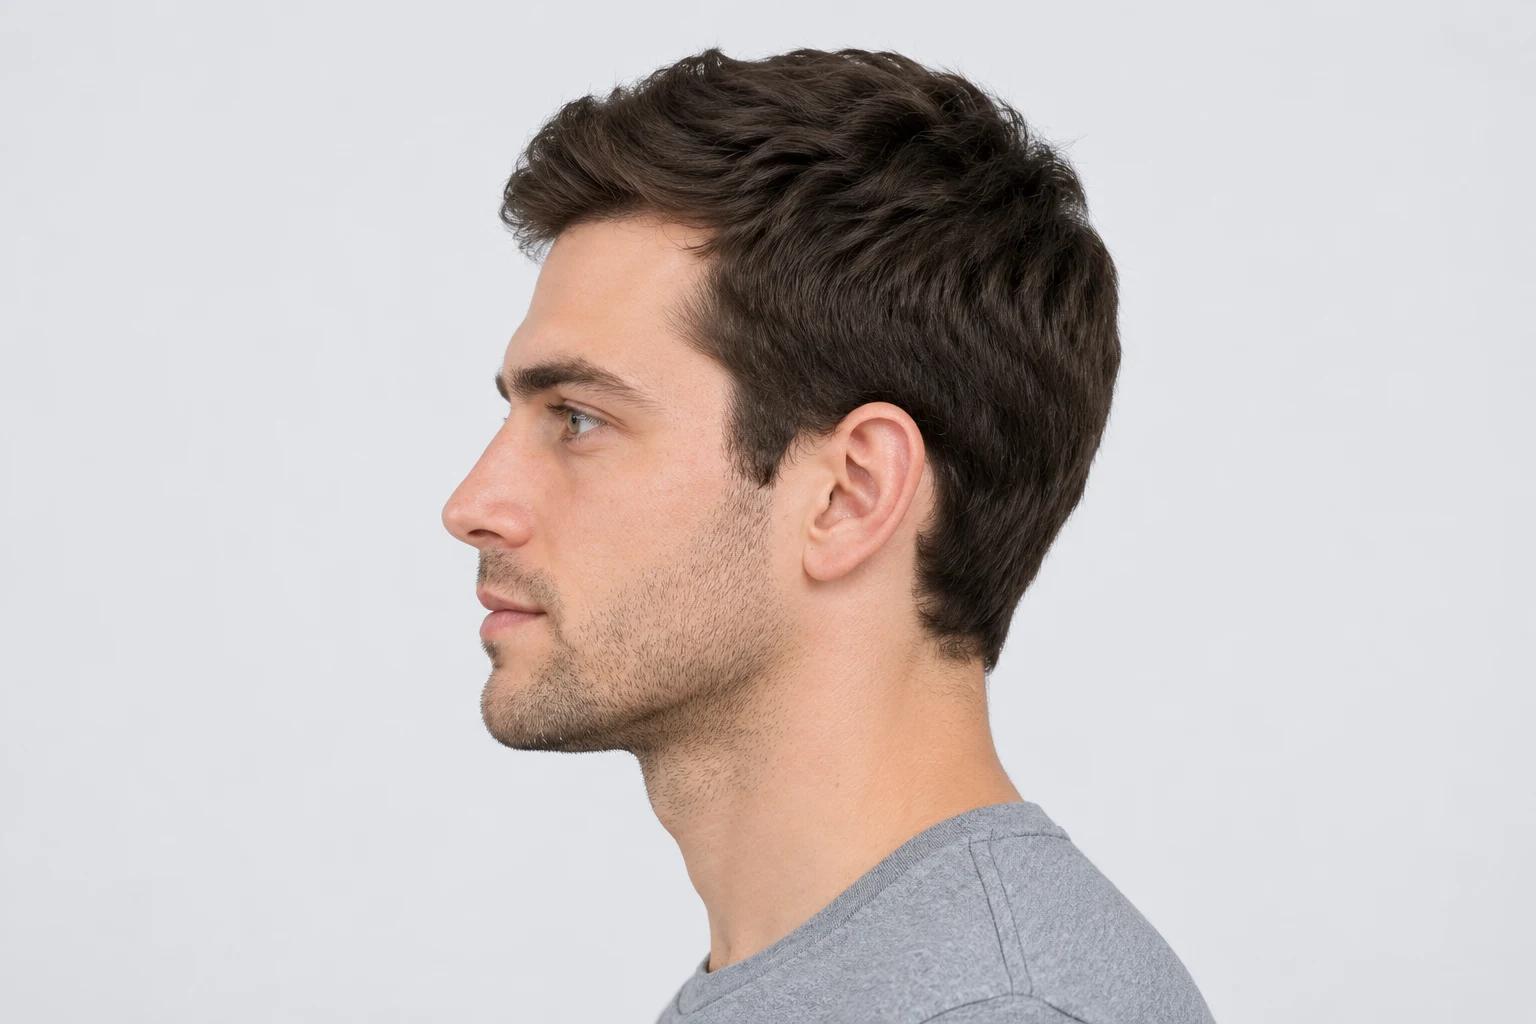
Upload a side photo to analyze your profile
One adult, viewed directly from the side (90°). No beauty filter.
See an example resultExample result
How to read your side profile results
In this drawing, the nose base sits slightly in front of the line from the glabella—the forehead point between the eyebrows—to the chin. The facial convexity angle is 174.3°, a mildly convex profile. Both lips sit behind the E-line. The upper lip’s distance from it is 8.4% of the line’s length.
Select a measurement in your results to see the points and lines used to calculate it. The guide below explains the published references and the limits of comparing them with a photo estimate.
Try it with your photo- Facial convexity
- 174.3°
- Nasofrontal angle
- 115.7°
- Nasolabial angle
- 89.7°
- Upper lip to E-line
- 8.4% behind
- Lower lip to E-line
- 0.8% behind
- Jaw angle
- 118.5°
The solid line through the nose base gives the convexity angle, the dashed line is the E-line and the line at the back is the jaw angle. The short amber marks show the lips’ distance from the E-line.
This illustration is a drawing, not a real face. Its values are measured from the drawing.
How to analyze your side profile from a photo
- 01
Take a 90° side-profile photo
Place the camera at face height, at least 5 feet (1.5 meters) away. Ask someone to take the photo, or use a timer. Face directly to the side and look straight ahead. Relax your jaw and lips, and keep hair off your forehead, jaw, and neck.
- 02
Check the 11 marked points
Check the points along your forehead, nose, lips, chin, and jaw. Drag any point that looks misplaced, or select it with Tab and use the arrow keys. If hair or shadow hides a point, retake the photo so you can check its position.
- 03
Read and save your results
Select a measurement to see its lines on your photo. Review the reference information and limitations, then download your result card. Use the same camera setup and a relaxed expression when comparing photos.
What does a side profile analysis measure?
A side profile analysis describes the outline of your face as seen from the side. This tool estimates 11 points along the visible soft-tissue outline, from the forehead to the jaw. The forehead point is the glabella: the most prominent point of the forehead between the eyebrows. From the marked points, the tool calculates four angles and each lip’s position relative to the E-line, a straight line from the nose tip to the front of the chin.
- Facial convexity angle
- The angle at the nose base between lines to the glabella and the front of the chin, measured on the side facing into the head.
- Nasofrontal angle
- The angle at the bridge of the nose between lines to the glabella and the nose tip.
- Nasolabial angle
- The angle at the nose base between the underside of the nose and the upper lip.
- E-line lip position
- How far each lip sits behind or in front of the line from the nose tip to the front of the chin.
- Jaw angle
- The angle at the jaw corner between the back edge of the jaw and its lower edge.
Outline the face
We use the MediaPipe Image Segmenter to identify face skin separately from hair, body skin, and the background. It runs in your browser. The tool uses the front edge of that region to estimate your profile outline.
Place the points
The tool looks for changes in the outline around the forehead, nose, lips, and chin. It estimates the jaw corner from the back and lower edges of the face-skin region near the neck. These are starting positions to check against your photo; the boundary of that region may not match your anatomical jawline.
Measure the angles
Each angle is measured between two straight lines that meet at a marked point. We calculate angles using pixel coordinates and apply the same method to left- and right-facing profiles.
Measure the lips
We draw the E-line from the nose tip to the front of the chin and measure each lip’s perpendicular distance from it. Distances are shown as a percentage of the E-line’s length because an uncalibrated photo has no reliable scale in millimeters.
This is a 2D photo estimate of the soft-tissue outline and hasn’t been clinically validated. Clinical profile analysis uses calibrated photos or X-rays with the head in a fixed position. TryPSL’s overall PSL score uses front-photo measurements; this tool doesn’t change it. Methodology and limitations
Convex, straight or concave: reading your facial convexity angle
The facial convexity angle is measured at the nose base between lines to the glabella and the front of the chin, on the side of the angle facing into the head. At 180°, all three points form a straight line. Below 180°, the nose base sits in front of the glabella-to-chin line; above 180°, it sits behind it. The labels describe the shape of the profile in your photo.
Convex: below 180°
The nose base sits in front of the glabella-to-chin line. The drawing shows 165°. This relationship depends on all three points, so the angle alone cannot tell you whether your chin is recessed.
Straight: close to 180°
The glabella, nose base, and chin sit almost on one line. Small point adjustments can change the result, so check all three points before comparing photos.
Concave: above 180°
The nose base sits behind the glabella-to-chin line. The drawing shows 188°. This relationship depends on all three points, so the angle alone cannot tell you whether your chin projects too far forward.
The dashed line runs from the glabella to the chin. These TryPSL drawings keep the glabella and nose base fixed and move only the chin to illustrate the three shapes. Legan and Burstone’s reported mean of 12° from a straight profile corresponds to 168° using this convention.
Published references and why measurements differ
Side profile references include averages from specific study populations and historical aesthetic guidelines from orthodontics and facial surgery. A study average describes a sample; an aesthetic guideline reflects a proposed preference. Neither defines an ideal profile for everyone.
Published references may use different landmarks or measurement methods and may not be directly comparable to this photo estimate. For example, using the nasal bridge instead of the glabella changes the facial convexity measurement.
| Measurement | Points | Published reference | Notes |
|---|---|---|---|
| Facial convexity angle | Glabella – subnasale – soft-tissue pogonion | Legan and Burstone (1980) reported a mean deviation of 12° ± 4° from a straight profile, equivalent to 168° ± 4° using this convention, in their adult reference sample measured on X-rays. | Some sources report the difference from 180° (12°) instead of the angle itself (168°). Others measure from nasion or include the nose tip, which gives different numbers for the same face. |
| Nasofrontal angle | Glabella – nasion – nose tip | Powell and Humphreys (1984) describe an aesthetic reference range of 115–130°. This is a historical guideline, not a population average. | Some methods use a line along the nasal bridge rather than a line to the tip. These can produce different angles, so check the method before comparing values. |
| Nasolabial angle | Columella – subnasale – upper lip | Powell and Humphreys (1984) describe aesthetic reference ranges of 90–95° for men and 95–110° for women. These are historical guidelines, not population averages. | We use straight lines through marked points on the underside of the nose and the upper lip. These may differ from clinical tangent lines. The angle reflects both nasal and upper-lip shape; see this study of its two components. |
| E-line (Ricketts) | Nose tip – soft-tissue pogonion, with each lip’s distance to it | Ricketts’ historical reference values for White adults place the upper lip about 4 mm and the lower lip about 2 mm behind the line. They cannot be compared directly with this tool’s percentage results. | Published distances are usually in millimeters on calibrated images; we report a percentage of the E-line’s length. A 2023 pilot study of Malay women in Kuantan, Malaysia reported different values from Ricketts’ references. A 2025 Angle Orthodontist study also examined whether those references should be updated. |
| Jaw angle (soft tissue) | Back edge of the jaw – jaw corner – bottom of the chin | Published gonial angles are mostly measured on bone in X-rays. Skin and soft tissue change the outline in a photo, so we don’t compare this number with them. | Hair, the earlobe, and soft tissue under the jaw can obscure the outline. Check all three marked points. We do not provide a numerical reference range for this photo estimate. |
- Legan HL, Burstone CJ. Soft tissue cephalometric analysis for orthognathic surgery. J Oral Surg. 1980;38:744–751.
- Powell N, Humphreys B. Proportions of the Aesthetic Face (book catalog record). Thieme-Stratton; 1984. The nasolabial ranges are also cited in Pasinato et al.’s 2008 rhinoplasty study.
- Ricketts RM. Esthetics, environment, and the law of lip relation. Am J Orthod. 1968;54:272–289.
How to take a side profile photo for analysis
Camera angle, facial expression, and point placement can affect your results. Use the same camera setup and keep your head in a relaxed, consistent position when comparing photos.
A 90° side view
Face directly to the side, with only the near side of your face visible. A three-quarter view changes the outline and can distort the measurements. The tool may ask you to choose another photo.
Head level
Look straight ahead at something at eye level. Keep your chin neither tucked nor raised; a mirror or a line on the wall helps you repeat the same position.
Camera height and distance
Place the camera at face height, at least 5 feet (1.5 meters) away. Ask someone to take the photo, or use a timer. Avoid close-up selfies, which can distort facial proportions.
A clear outline
Pull hair back from your forehead, jaw, and neck, and use a plain background with even lighting. Relax your jaw and let your lips rest naturally. A beard can hide the chin and jaw points.
Side profile analysis FAQs
What is a good side profile?
There is no single ideal side profile. Published references include study averages and historical aesthetic guidelines, which serve different purposes. Results vary with the people studied and the measurement method. We explain those differences and link to sources so you can put your results in context. This tool does not give an attractiveness score.
What is the facial convexity angle?
It’s the angle at the nose base between lines to the glabella, the forehead point between the eyebrows, and the front of the chin. We measure the side of the angle facing into the head. A straight profile measures 180°, a convex profile less, and a concave profile more. Legan and Burstone reported 12° ± 4° as the deviation from a straight line, equivalent to 168° ± 4° using this convention.
What is the E-line?
The E-line, or esthetic line, was described by orthodontist Robert Ricketts. It runs from the nose tip to the front of the chin and describes lip position relative to those two points. Ricketts’ historical reference values for White adults place the upper lip about 4 mm and the lower lip about 2 mm behind the line. These are not universal targets, and this tool’s percentage results cannot be compared directly with millimeter values.
Why is my E-line result a percentage, not millimeters?
A photo has no built-in scale, so we can’t convert pixels to millimeters reliably. We show each lip’s distance from the line as a percentage of the line’s own length, which stays the same when the photo is resized. You can’t compare it directly with values given in millimeters.
What do the nasofrontal and nasolabial angles measure?
The nasofrontal angle describes the transition from the forehead to the nose. Here, it is measured at the nasal bridge between lines to the glabella and the nose tip. The nasolabial angle describes the relationship between the underside of the nose and the upper lip. It depends on both nasal and upper-lip shape, so it does not measure nasal tip rotation alone.
Can a photo measure my gonial angle?
Not exactly. The gonial angle is a bone measurement, usually taken on a dental X-ray. A photo shows skin, muscle and fat over the jaw, and the jaw corner is often hidden by hair, ears or shadow. We call our measurement the jaw angle and draw it on the visible outline. It isn’t the same number as a gonial angle from an X-ray.
Why does the tool reject my photo?
The tool may reject photos that do not appear to show a clear side view, or when it cannot find enough of the face outline. Use a 90° side view with your full forehead, nose, chin, and jaw visible. Leave space in front of your nose and below your chin. Always check the photo and marked points yourself, even if the tool accepts it.
Does it matter which way I face?
You can face left or right. The tool uses the same measurement method for both directions. Automatic point placement can differ between an original photo and its mirror image, so check the marked points each time.
How accurate is this side profile analysis?
The tool has not been clinically validated, and we haven’t established an error margin. Hair, beards, glasses, shadows, and a busy background can affect automatic point placement. Camera angle and facial expression can also affect your results. Angles are rounded to one decimal place, but that does not mean they are accurate to 0.1°.
My forehead point is covered by hair. What should I do?
Retake the photo with your forehead visible. The glabella is the most prominent point of the forehead between the eyebrows. When that part of the outline is hidden, the tool may estimate a position from other facial proportions. You cannot reliably check a hidden point, and both the convexity and nasofrontal angles depend on it.
Can I move the points?
Yes. Drag any blue point, or select it with Tab and move it with the arrow keys. Hold Shift for larger steps. Reset points brings back the detected positions. Your downloaded result uses your adjustments.
Can this tool track changes in my side profile?
You can compare photos taken with the same camera setup, head position, and relaxed expression. Differences may still come from lighting, facial expression, or point placement. This tool measures one photo at a time; it cannot confirm a change in facial structure or recommend treatment. For medical or orthodontic questions, see a qualified professional.
Is the side profile analysis free and private?
Yes. You can analyze and download your results for free, without an account. Your photo and measurements stay in your browser; they aren’t sent to our server. The tool downloads an image segmentation model of about 16 MB, which your browser may cache for later use. Select “Clear & choose another” or reload the page to clear your session.